THIS BLOG HAS MOVED. PLEASE UPDATE ANY BOOKMARKS TO GO DIRECTLY TO WWW.RAISINGGEEKS.COM

Monday, August 16, 2010

August 16th: Arduino Tips...

A few quick tips that I wish I'd learned sooner.

1) You can attach a button / switch to an arduino without an external resistor. You connect one side of the button to ground, the other to the digital input. Set the pinMode to input, then turn on the internal pullup resistor using the digitalWrite function. I like using defines for my pin numbers at the top of my file.


  #define SWITCH1         5


  pinMode(SWITCH1, INPUT);
  digitalWrite(SWITCH1, HIGH); //turn on pullup


Later, when you need to read the switch, just use digitalRead and test for LOW.

 if (digitalRead(SWITCH1==LOW))
    {
      //do something
    }

This method simplifies your circuit AND keeps you from running power to all your switches reducing the possibility of shorting your power supply.
 
2) You can use the analog input pins A0-A5 as digital inputs! Just number them 14-19 and use them for standard digital I/O.

Using the above code, you would simply define SWITCH1 as 14 and connect the switch to pin A0 on the arduino...

  #define SWITCH1         14 //A0

  pinMode(SWITCH1, INPUT);
  digitalWrite(SWITCH1, HIGH); //turn on pullup
 

Little tips go a long way to maximizing productivity and hardware capability...enjoy!

Sunday, August 15, 2010

August 15th: Hockey Season!

My good friend Luis is a bit of a Hockey nut. He not only watches hockey (He's a Rangers fan...), he pre-plays the games for the Rangers on his xbox with his brother. He also has an "original 6" table hockey game with a custom cover made by his family.

I don't think that is the exact model, but you get the idea :)

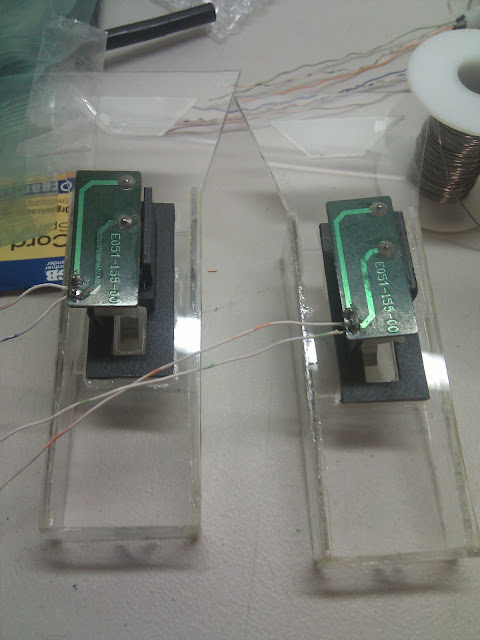
A few years ago, I was scrapping an old air hockey table and Luis took  the scoring system and modified his table hockey game to use the scoring mechanism.

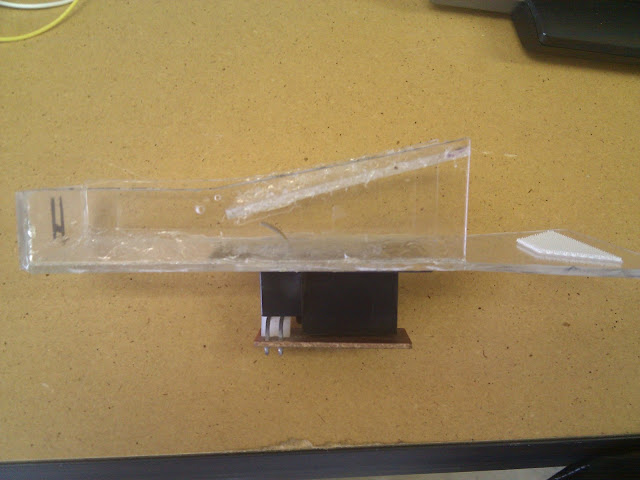
He cut out the goal area so the puck could go down into custom lexan fixtures that hold the air hockey table scoring switches.


These velcro to the bottom of the table hockey game. They are removable so the table can be transported and still lay flat.

Last year when I got into messing with arduinos, we were kicking around the idea of making a custom scoreboard for the table that would use the Adafruit WaveShield to play hockey arena sounds & music.

At the time I wrote out some basic plans, but focused on finishing my son's "control panel" and finishing my MBA.

A month or so ago, I found the NCR VFDs at Skycraft and this triggered the scoreboard idea again. I made a shopping list for Luis, he ordered the parts and off we went.

The project has come together quickly. We had an afternoon where we soldered up the WaveShield and modded his VFD for TTL serial. I have worked on the code a few hours here & there, and Luis has been working on getting the components mounted. Since I didn't have my shiny new welder this week (thanks UPS - once again you screw with my happiness!) I decided to really get moving on this project. I wrote most of the code logic yesterday and today we got the prototype case finished up. 


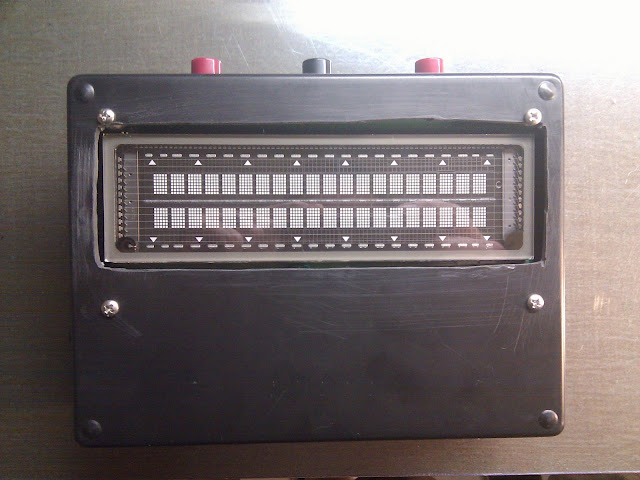
Here is the VFD mounted in the case. We had a little mix-up on the VFD dimensions, so the prototype has a little extra view of the VFD :)


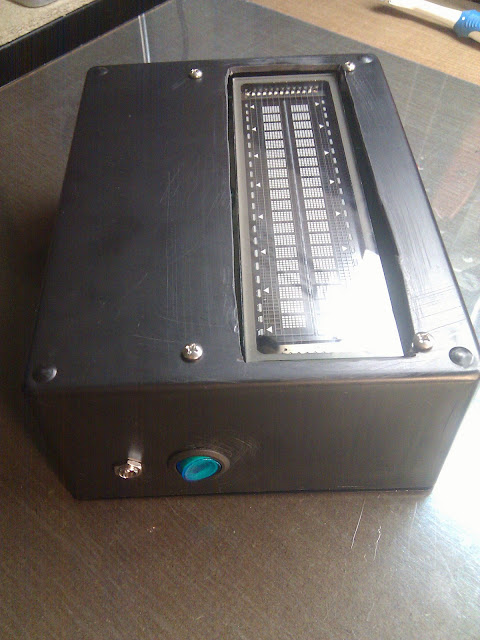
Side view showing the lighted power button and power jack


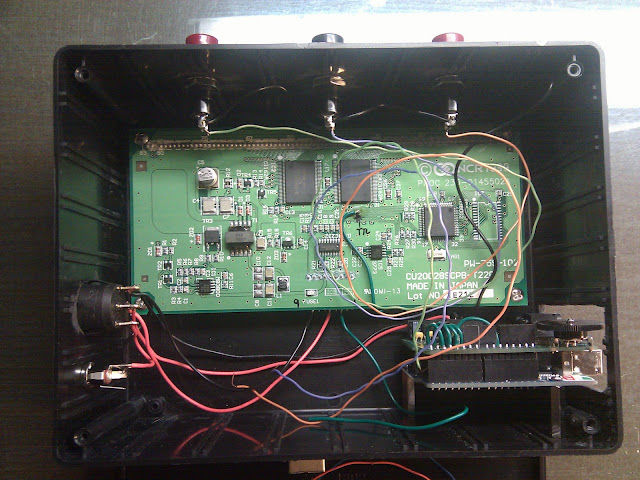
A shot of the inside wiring - Arduino and WaveShield on the bottom right, VFD is the big board, buttons up top. We've since added an RJ45 "magic jack" with a SparkFun breakout board at the bottom. It will be the connection to the table switches and LEDs. The green wire coming up the middle of the VFD board is the TTL mod. 


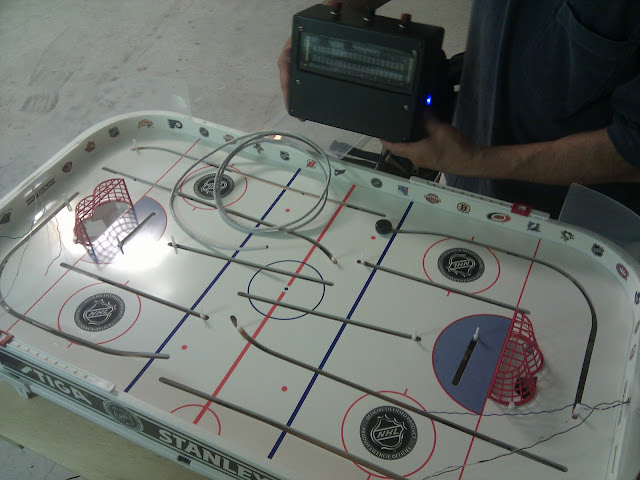
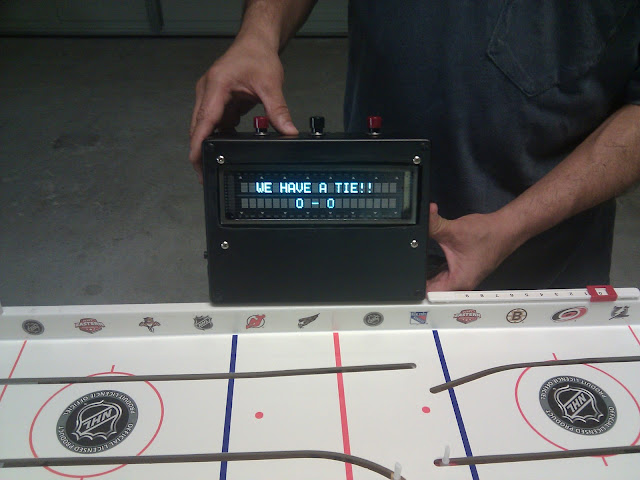
.  So, how will this thing look in action?? Here it is next to the table. The wires on the side of the table are where the scoring / intermission LEDs will be placed.


And more action shots...


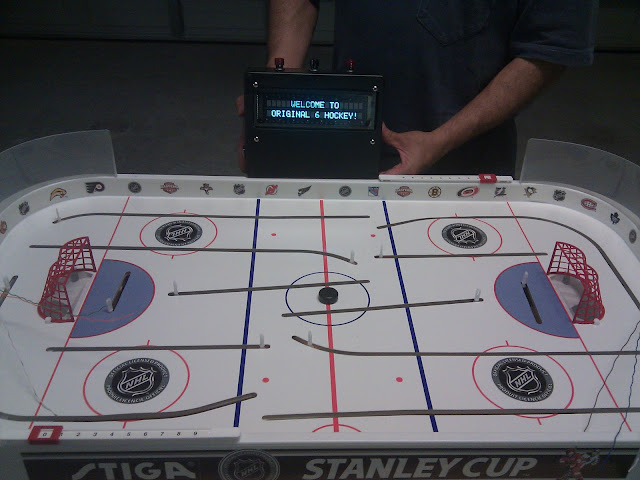
Intro screen...music will be playing...


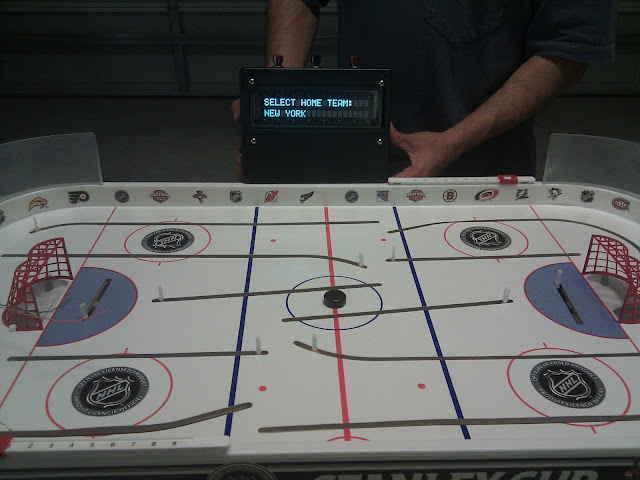
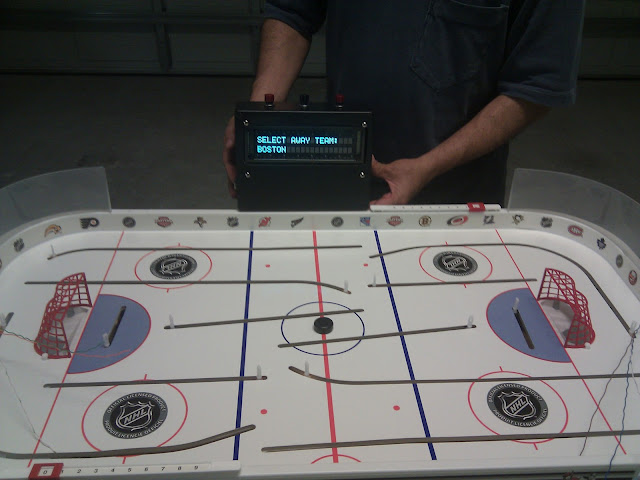
Select the home team. The middle button is "next" and the right button is "ok" in this mode.


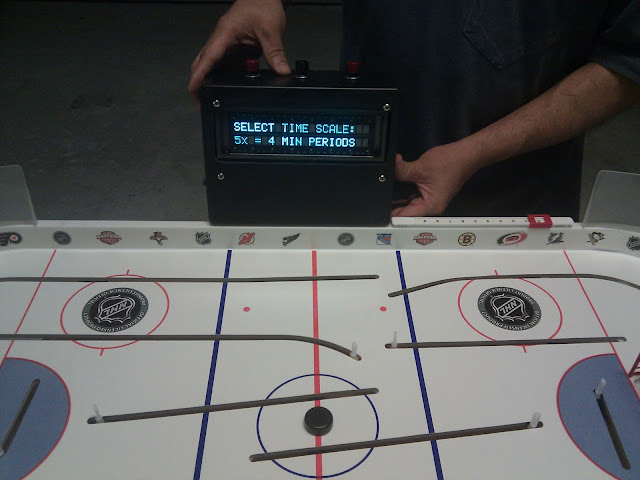
We are making the periods 20 mins like "real" hockey, but then making the clock run down faster. Not sure it will stay this way, but makes life much easier for testing because I can set the scale at a crazy high number and get periods that are a few seconds long :)


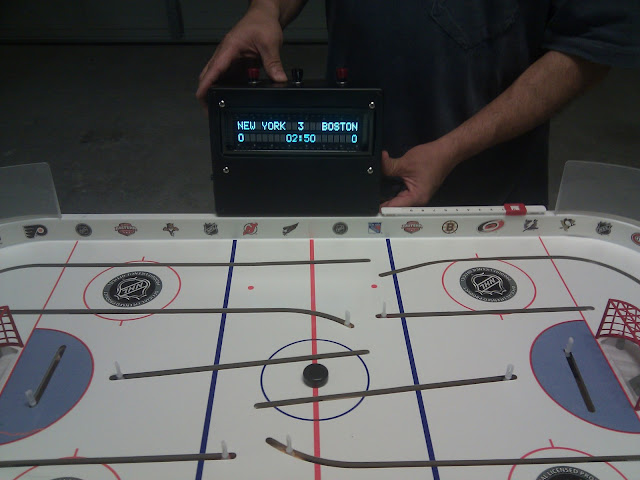
In game shot... (scoring switches not connected yet...) During the game, the right button is "play / pause". After a goal, the timer automatically pauses and then a button is hit to resume gameplay (after a short timer to allow the person hitting the button to "ready" themselves...)


I'm really excited to get the sound / music code integrated and get this thing connected to the table. I might even have to learn how to play!

Sunday, August 08, 2010

August 8th: Let's WELD!

I've backed off the electronics design & testing for the last two weeks. I was in deep and needed a break. I've switched gears to disassembly on the Firebird. I've gone MUCH farther than I intended (as usual) and will likely keep going.

One of the next major projects on the Firebird is rectifying the swiss cheese firewall. The no-longer needed hole for the factory AC is a mess. It had been hacked in the past and the cover plate was gooped on. It wasn't panel bonded or epoxied, it was soft, pliable black goop. Yuck.

I want to do it right, so I've ordered a filler panel from Detroit Speed (this is a common modification since aftermarket AC doesn't go through the firewall) and now I'm learning to weld. Sure, I could use 3M panel bond, but what fun is that?!

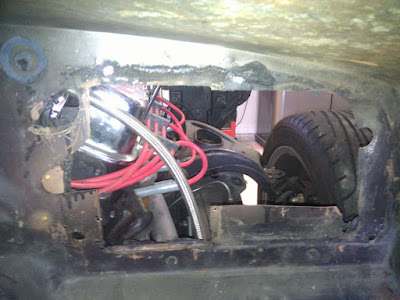
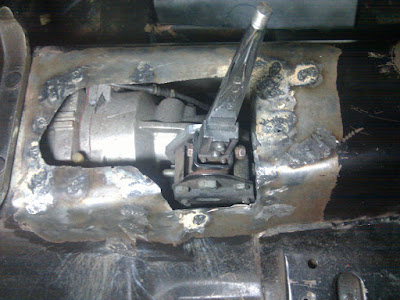
Here are two pics of the major firewall hole...


I also have some transmission tunnel cleanup work to do. I've started it with the cheap Harbor Freight flux core box, but I'll wait for the real MIG box to show up before finishing it.

This is the "cover" the previous owner made to patch up the transmission tunnel.


He not only hacked the tunnel, he left a ridiculous amount of holes...


Here is the "after" shot from me filling (and grinding, and filling and grinding...) the holes...


And the new "cover" made from 16 gauge steel...


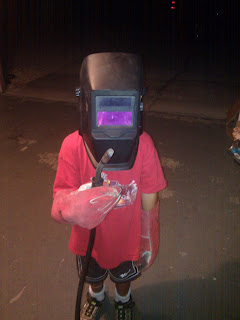
As usual, I'm trying to get the boys engaged in the process. I don't think they understand yet just how cool welding is. My little guy went shopping for supplies last night AND he watched the GMAW (MIG) WIRE FEED video I purchased.

Here he is, ready for action!


When I took him to the Lincoln Electric site to show him the welder I ordered, he saw that they make an Iron Man welding helmet. I didn't have much choice on the design of my new helmet after that. I suspect I'll have to fight him for it :)


For those of you that are into such things - I've ordered a Lincoln Weld Pak 180, which is a 220v MIG welder. I also ordered the spool gun for welding aluminum and a cart. I will be purchasing an Argon / CO2 mix cylinder for welding steel and a pure Argon cylinder for welding aluminum. Yes, I know TIG is the fancy way to weld aluminum, but this was an easier (and cheaper) way to get started. I need to prioritize my ability to easily weld old steel bodywork and MIG is the way to go for bodywork. If I get decent at this, I'll try TIG in the future.

I also think it will be MUCH easier to teach the boys MIG.

Wish me luck!