The family worked together to make a planter for my mother-in-law, Elaine. My boys call her "Nana", so we personalized the planter with the new plasma cutter.
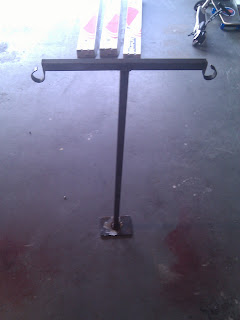
We made an upright "trellis" out of steel square tube, 1/4" plate and some cut mounting hooks from IKEA.
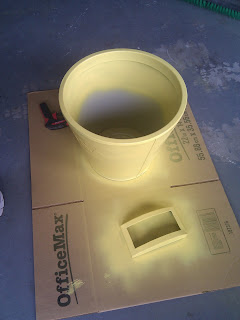
Primed the galvanized metal, cleaned the bare steel, and then painted the whole thing...
If you are paying attention, you are wondering - "what is that little yellow box next to the planter?" - Great question! :)
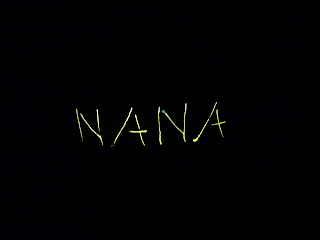
After we had "NANA" cut in the side of the planter, I thought...OOOOH...why not BACKLIGHT it so that at night you see this...
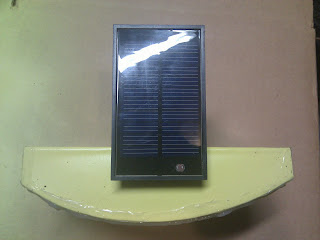
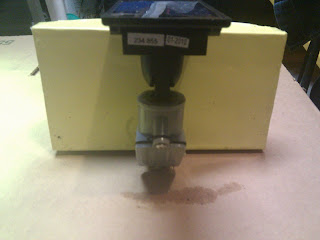
Back at Home Depot, I grabbed a 3-LED solar landscape light and then brought it home to disassemble. That little yellow box is the "light box" which holds the LEDs and has the attached solar panel.
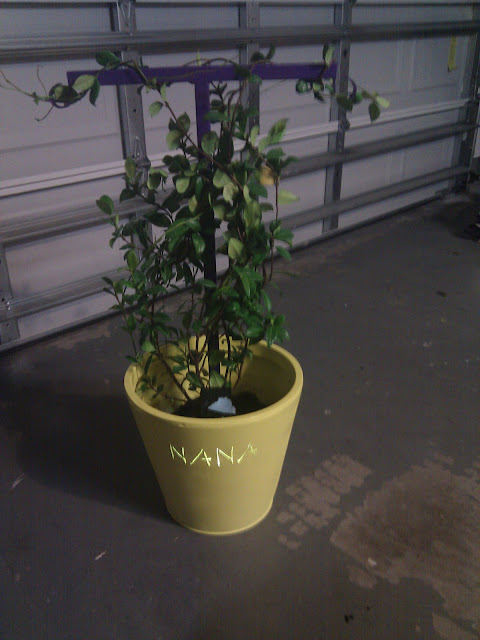
The final product (with a Jasmine plant installed) looks like this...and at night, "NANA" is visible through the side just like the pic above...
Here's another shot where you can see the light...
It also has some ACCESSORIES! First a bright purple watering can (she loves purple)...
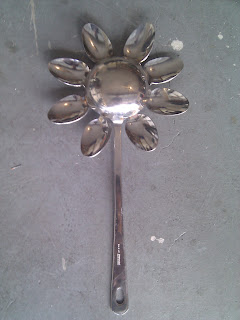
And I found this idea online, so the boys & I made one from spoons and a ladle we purchased at IKEA.
The family is very proud of how it turned out, everyone had a chance to help in some part of the construction, and we think she will LOVE it. Her cake is also a planter / flower theme, so it all works together!
Below are some pictures of the light box construction. It was great sheet metal fabrication practice for me...
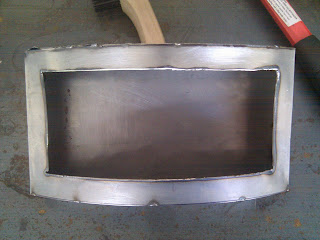
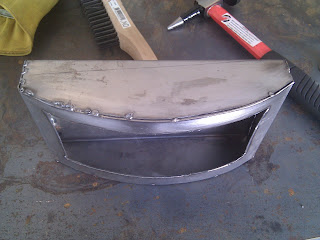
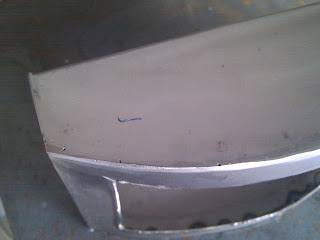
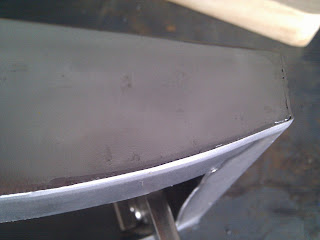
This is the light box in the middle of welding the curved edges. The light box started as a flat sheet of 22 gauge sheet metal from Home Depot. Adam & I made a template with cardboard, then used the plasma cutter to cut it out, then the vise for bending the edges, then tack welded & grinded the seams...
This is the point where I really got excited - the edges came out GREAT and I never thought I could build something like this...
You can see some of the little holes...more welding & grinding required!
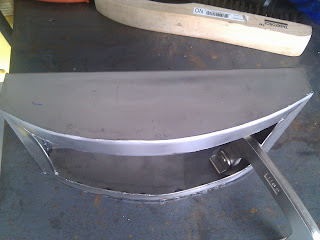
Once it was painted, I moved to the workbench for assembly...
I drilled the big hole in the back after painting, which meant another prep / paint / wait cycle...Next time I build something like this I'll fine sand it after priming and between top coats. I experimented a bit with it on this one and that section came out ultra-smooth!
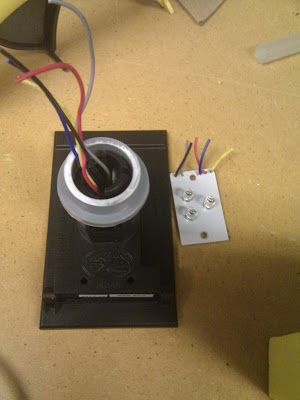
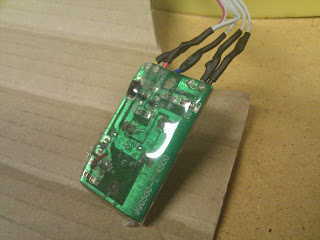
The remaining parts from the sacrificial landscape light. I picked this one due to 3 LED brightness, a BIG solar cell and a lithium battery. I was surprised to see 5 wires going to the LEDs. The charging circuit is down on the board with the LEDs.
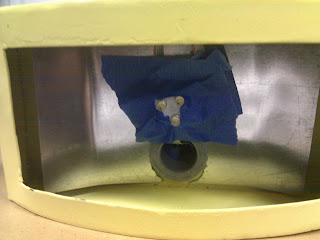
Below was a test fit with the new aluminum reflector. Blue tape is so versatile! Here it is attaching the board AND insulating it from the aluminum reflector :)
I used ribbon cable to extend the wires, and heat-shrinked everything :) I also used hot glue to insulate the back of the circuit board AND to attach the board to the reflector.
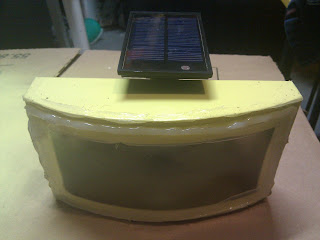
I bent a piece of clear polystyrene and siliconed it to the the front of the box to both waterproof and diffuse the light. I did not trust my welded seams to be waterproof so I siliconed all the edges :) Messy, but should be watertight.
In the front view of the final light box, you can see the aluminum reflector (it is curved...looked cool, don't know if it really helps...) and the LED / charging circuit and wires hot glued to the reflector...

Another benefit of this light is that the battery is replaceable and in the bottom of the solar cell assembly, so I don't have to open the light box...
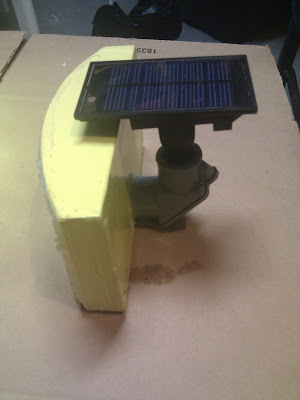
This was a GREAT project. We plasma cut, bent metal, welded metal, grinded (ground?!), soldered, hot glued, sanded, wire brushed, primed, painted, heat formed (polystyrene), epoxied (trellis to pot), glued (pvc) and siliconed.


