Shift In
As I mentioned previously, the shift examples were intriguing and everything was just working, so I thought I'd give it a go.
I built it on the lab, using the 3 momentary switches to test. It worked great, so I decided to make myself a small pcb version since I find it a pain to connect so much stuff on a breadboard. I also needed some construction practice before I built the board for the Control Panel, so why not.
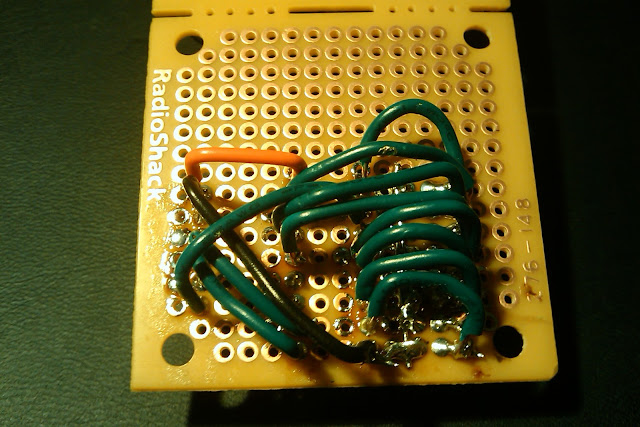
I used a small board from Radio Shack and gave it a go. My layout turned out to be a pain and my soldering was a real mess. After I'd soldered it, I continuity tested everything and was amazed to not have any accidental solder bridges. More on that in a minute...
I wired the circuit up to the Lab buttons and got a whole lot o' nuthin. After tracing it for a while I realized I had created a nice row of grounds, but hadn't actually connected that row TO ground. Duh.
I heated the iron back up and "fixed" the circuit. I reconnected it...Button one worked. Button two worked. Button 3 killed power to the Arduino. Oops. Unplug USB, plug it back in...nothing. Oops. Sure enough, "fixing" the ground had created a solder bridge and a nice short.
I now had a dead Arduino.It wasn't even a week old. Oops.
I pulled the Arduino out of the circuit and tried another USB port. It powered up. Ok, so its a dead USB port on my laptop. Lovely. For giggles I rebooted the laptop and power came back on that port. Thank goodness for protection circuits.
Lesson learned - I'd tested the first time, but not after I'd "fixed" the circuit.


No comments:
Post a Comment