(This is Part 3 of the build - links to:
Part 1, and
Part 2)
The afternoon didn't go as smoothly. It would have been really handy to have some Prusa experience or someone reading the instructions with me. Trying to piece together the right steps from the Prusa Visual Instructions and Brock Tice's MakerGear instructions left me with some rework.
I also made a pretty big mistake - I opened up the holes on the x-idler and the x-motor brackets for M4 bolts when they should have been M3 bolts - I was reading Brock's instructions and got confused, mostly because I wasn't reading carefully enough. The Z motor brackets take M4 vs the Prusa M3. Ooops. I think there is still enough plastic in there to keep the nuts and smooth rods captive.
At this point I'm out of instructions and need to figure it out as I go. I added the end stops with some MakerGear pics and some IRC answers from MakerGear|Rick
Tomorrow I will finish up the RAMPS / Pololu build that I started a few weeks ago (I ordered a spare), and I'll get the heated print bed installed, and the servos + end stops wired.
 |
| Sometimes, having graphical instructions makes things worse. The MakerGear parts are quite different then their standard Prusa counterparts. Once installed, they made sense - the Prusa ones are open on the sides due to the PLA bushings instead of the round metal bushings. |
 |
| You can see some of the bolt holes have been enlarged due to my inability to follow directions (or the right directions at the right time...) |
 |
| I really wish the instructions had told me to install the nuts / bolts for the smooth rod adjustment at this point. Doing it later was a real pain. |
 |
| Adding the bearing to the x-idler pulley with the mallet as I did earlier. |
 |
| Installed flush. Note that the inner surface of the pulley has two different diameters, one is sized for the bearing. |
 |
| Hardware installation order for the x-idler |
 |
| X-idler pulley installed (this was a later pic where I'd also installed the bushings - I really wish the instructions told me to finish these parts all at once... |
 |
| I thought this was assembled. Later steps add the x-carriage, bushings, and the nuts / bolts to adjust the smooth rod - I wish I'd read ahead and done it all at one time. |
 |
| I used a bolt with fender washer to seat the captive nuts |
 |
| Z-motor smooth rod holder installed |
 |
| Z-motor smooth rod holder installed |
 |
| x-carriage bushings installed |
 |
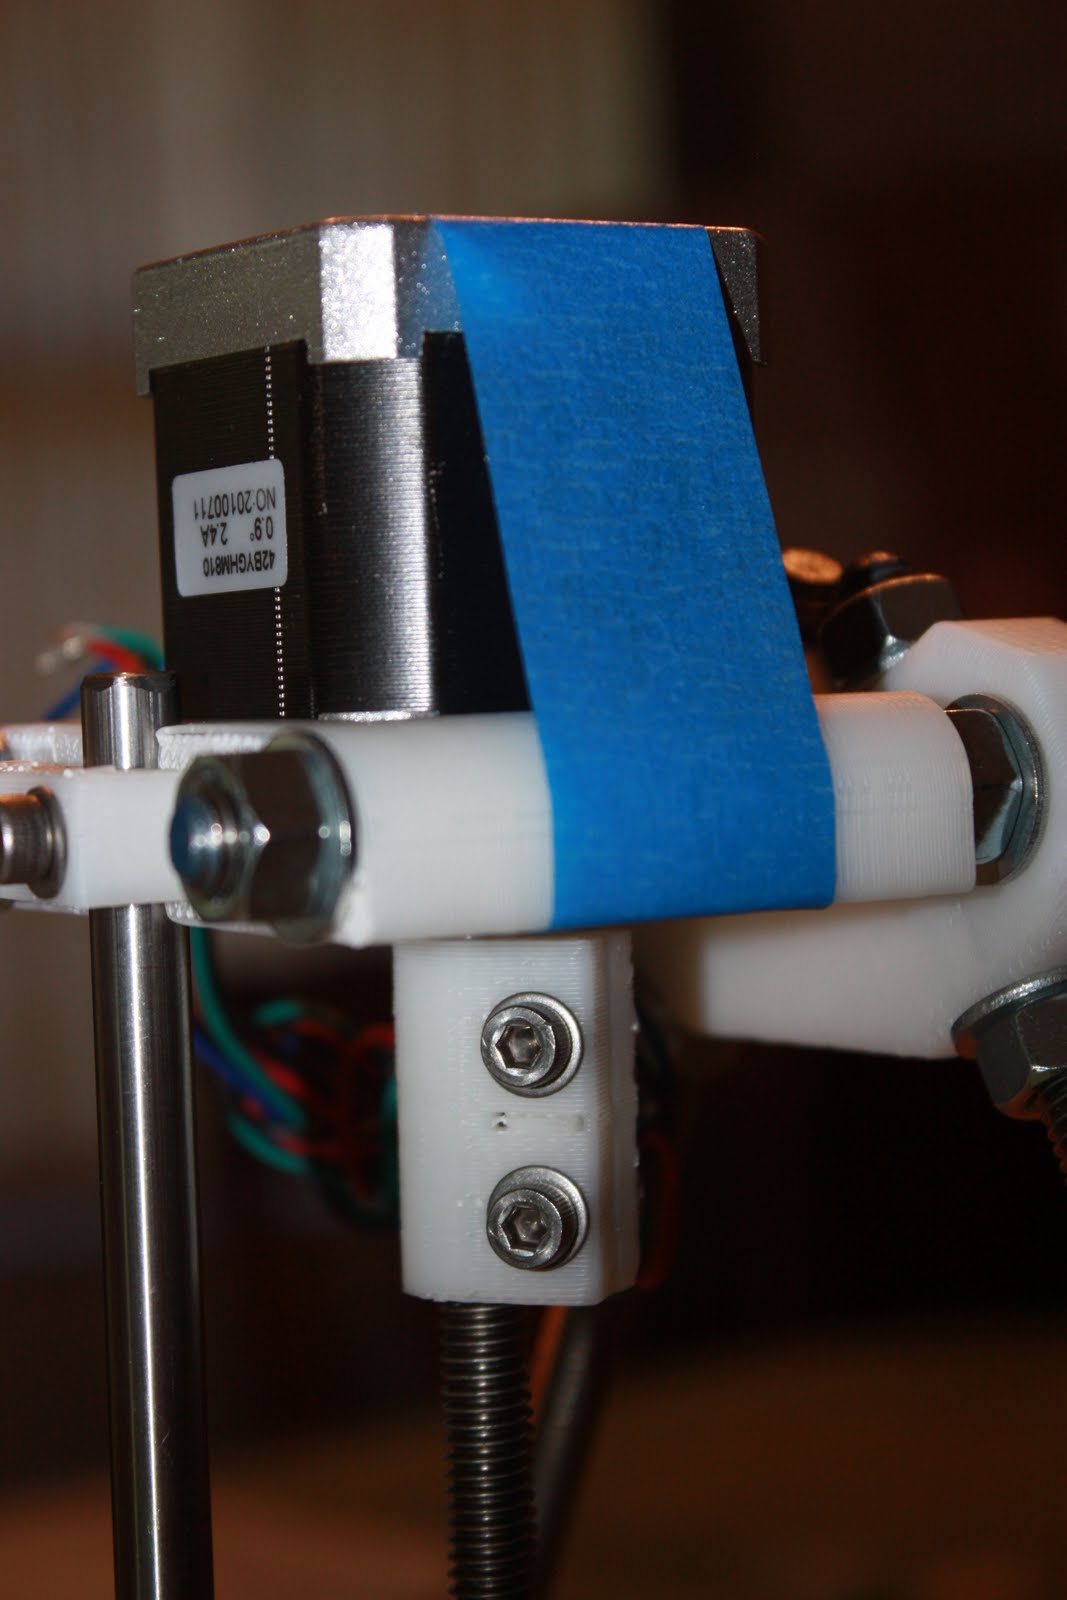
| Taped in the Z motors for now... |
 |
| Z motor coupling. One side was super easy, the other side didn't want to grab the servo shaft and I really had to tighten it down. |
 |
| x-carriage belt holders |
 |
| I used the manufactured pulley on both X and Y. (this is the X motor) MG|Rick said that he recommends using the manufactured one on X, but the printed one "works fine" on Y. |
 |
| Y-axis endstop |
 |
| X-axis endstop |
 |
| Z-axis endstop - note the split design for "fine tuning" as per MG|Rick |


No comments:
Post a Comment